




Fourkeys
Gastric Bypass Patients
-
Joined
-
Last visited
Everything posted by Fourkeys
-
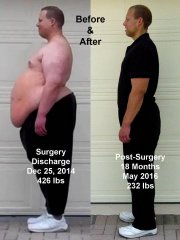 THANKS! Good Luck with your journey!
 -
HELLO KEN! I'm told that you can offer insight to my question: If there is one, where do I find a website tutorial? Is there a support link with FAQ items? THANKS! If not Ken does anyone else know how to learn navigating the website?
-
BEFORE & AFTER 4.jpg. A weight loss surgery photo shared by Fourkeys in Before and After Gastric Bypass Photos on BariatricPal.
-
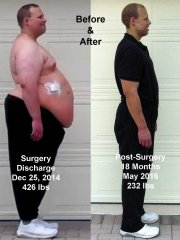 BEFORE & AFTER 3.jpg. A weight loss surgery photo shared by Fourkeys in Before and After Gastric Bypass Photos on BariatricPal.
 -
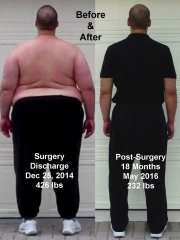 BEFORE & AFTER 2.jpg. A weight loss surgery photo shared by Fourkeys in Before and After Gastric Bypass Photos on BariatricPal.
 -
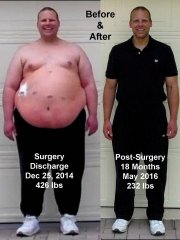 BEFORE & AFTER 1.jpg. A weight loss surgery photo shared by Fourkeys in Before and After Gastric Bypass Photos on BariatricPal.
 -
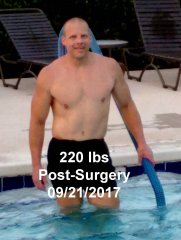 PROFILE PHOTOS 11.jpg. A weight loss surgery photo shared by Fourkeys in Before and After Gastric Bypass Photos on BariatricPal.
 -
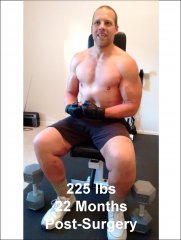 PROFILE PHOTOS 9.jpg. A weight loss surgery photo shared by Fourkeys in Before and After Gastric Bypass Photos on BariatricPal.
 -
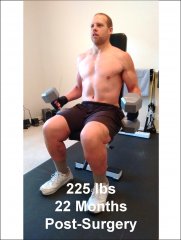 PROFILE PHOTOS 8.jpg. A weight loss surgery photo shared by Fourkeys in Before and After Gastric Bypass Photos on BariatricPal.
 -
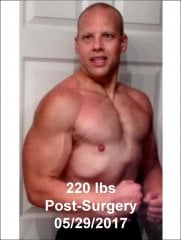 PROFILE PHOTOS 10.jpg. A weight loss surgery photo shared by Fourkeys in Before and After Gastric Bypass Photos on BariatricPal.
 -
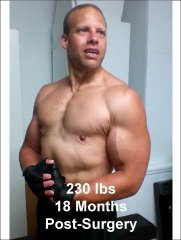 PROFILE PHOTOS 3.jpg. A weight loss surgery photo shared by Fourkeys in Before and After Gastric Bypass Photos on BariatricPal.
 -
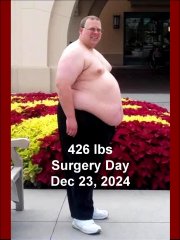 SURGERY DAY 2.jpg. A weight loss surgery photo shared by Fourkeys in Before and After Gastric Bypass Photos on BariatricPal.
 -
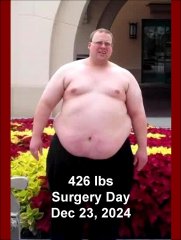 SURGERY DAY 1.jpg. A weight loss surgery photo shared by Fourkeys in Before and After Gastric Bypass Photos on BariatricPal.
 -
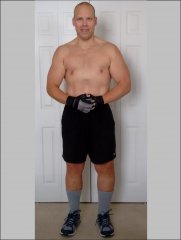 CIRCUIT TRAINING 11.jpg. A weight loss surgery photo shared by Fourkeys in Before and After Gastric Bypass Photos on BariatricPal.
 -
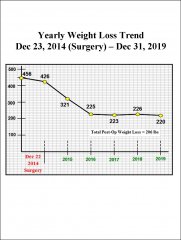 CHARTS & GRAPHS 2.jpg. A weight loss surgery photo shared by Fourkeys in Before and After Gastric Bypass Photos on BariatricPal.
 -
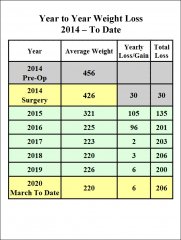 CHARTS & GRAPHS 1.jpg. A weight loss surgery photo shared by Fourkeys in Before and After Gastric Bypass Photos on BariatricPal.
 -
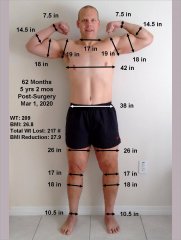 AFTER MEASUREMENTS 2020.jpg. A weight loss surgery photo shared by Fourkeys in Before and After Gastric Bypass Photos on BariatricPal.
 -
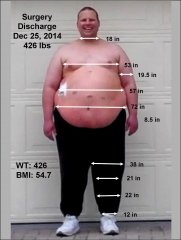 BEFORE MEASUREMENTS 2014.jpg. A weight loss surgery photo shared by Fourkeys in Before and After Gastric Bypass Photos on BariatricPal.
 -
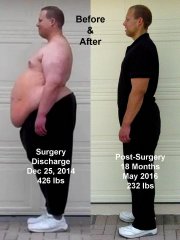 BEFORE & AFTER 4.jpg. A weight loss surgery photo shared by Fourkeys in Before and After Gastric Bypass Photos on BariatricPal.
 -
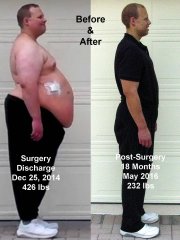 BEFORE & AFTER 3.jpg. A weight loss surgery photo shared by Fourkeys in Before and After Gastric Bypass Photos on BariatricPal.
 -
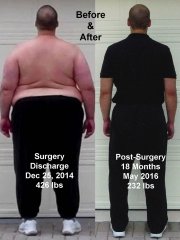 BEFORE & AFTER 2.jpg. A weight loss surgery photo shared by Fourkeys in Before and After Gastric Bypass Photos on BariatricPal.
 -
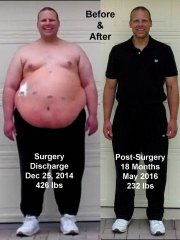 BEFORE & AFTER 1.jpg. A weight loss surgery photo shared by Fourkeys in Before and After Gastric Bypass Photos on BariatricPal.